Sunday, April 8, 2012
Thursday, April 5, 2012
An Eventful Week--and a Bit of Decorating!
It's been quite an eventful week down here in the Dallas area.
Tuesday was quite scary! Fortunately, despite the horrific damage to several communities, not one person was killed or even seriously injured in all the tornadoes.
Our family is fine, praise the Lord--we called out middle son and found him in the bathtub, hiding from the tornadoes in the Arlington area. All we suffered was loss of electricity. Fortunately, my parents still had lights, so I could finish a research paper due Wednesday! Better still, my mom fed us!
Late last week I took a few minutes to do a bit of decorating. I've had this old bread baking pan--um, thingie!--hiding in the closet for a couple of years! It was time to get it out and do something with it!
So I took some fun things around the house to put INSIDE the bread pans.
First, a little chicken pot holder. It's a bit rough around the edges, but it's got RED trim and wings!
Next, metal chicken cookie cutters and a candy mold. The mold was a gift from a friend, while the middle cookie cutter is new, and I found the one on the left for a few cents down in Waxahachie.
These two were part of a sun catcher that fell down and broke. Finally, a place for momma hen and her chick!
Yes, I know--one's a cow. But the other is a chicken!
This little chickie has been sitting around the house here and there--now he sits in this old blue enamel ladle hanging on the bread pans!
So easy and lots of fun! Thanks for looking!
Tuesday was quite scary! Fortunately, despite the horrific damage to several communities, not one person was killed or even seriously injured in all the tornadoes.
![]() |
| Source |
Late last week I took a few minutes to do a bit of decorating. I've had this old bread baking pan--um, thingie!--hiding in the closet for a couple of years! It was time to get it out and do something with it!
So I took some fun things around the house to put INSIDE the bread pans.
First, a little chicken pot holder. It's a bit rough around the edges, but it's got RED trim and wings!
Next, metal chicken cookie cutters and a candy mold. The mold was a gift from a friend, while the middle cookie cutter is new, and I found the one on the left for a few cents down in Waxahachie.
These two were part of a sun catcher that fell down and broke. Finally, a place for momma hen and her chick!
Yes, I know--one's a cow. But the other is a chicken!
This little chickie has been sitting around the house here and there--now he sits in this old blue enamel ladle hanging on the bread pans!
So easy and lots of fun! Thanks for looking!
Thursday, March 29, 2012
How to Make the Rings: A Tutorial
Okay, we've made the valences with eyelets here.
Now it's time to make the rings! This is really easy, like I promised!
You will need:
Fabric (Your contrast fabric would look nice, if you've used it)
Cheap plastic shower curtain rings (I got mine from the dollar store!)
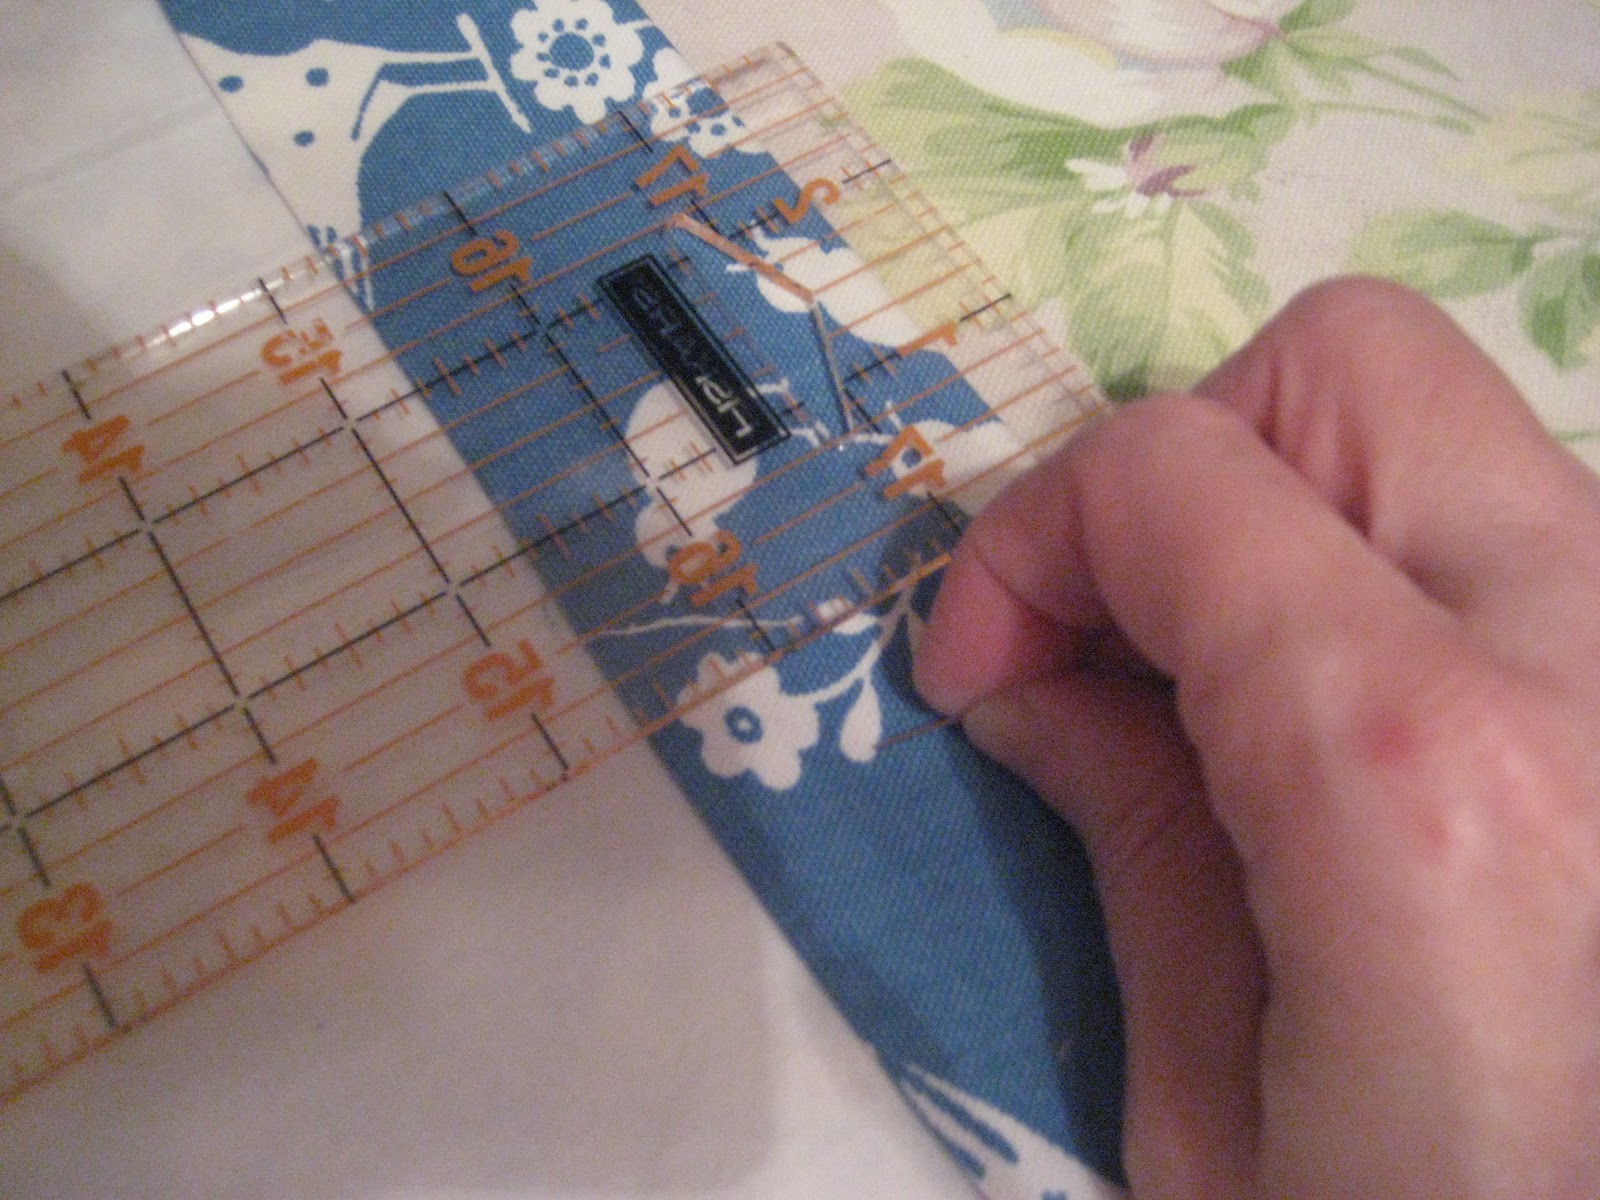
Cut rectangles of fabric that are about two or three times longer than the circumference of your rings (around the outside of the rings).
Measure (or estimate) the width of the rings.
Cut the rectangles of your fabric wide enough to fit loosely around the rings (don't forget the seam allowance!).
Experiment with one to make sure you like the look before cutting all the rectangles out.
Sew up the rectangles lengthwise (right side together).
Then turn them right side out
and just slip them over the shower curtain rings!
I didn't even bother to finish the ends of the rectangles!
Now it's time to make the rings! This is really easy, like I promised!
You will need:
Fabric (Your contrast fabric would look nice, if you've used it)
Cheap plastic shower curtain rings (I got mine from the dollar store!)
Cut rectangles of fabric that are about two or three times longer than the circumference of your rings (around the outside of the rings).
Measure (or estimate) the width of the rings.

Experiment with one to make sure you like the look before cutting all the rectangles out.
Sew up the rectangles lengthwise (right side together).
Then turn them right side out
and just slip them over the shower curtain rings!
I didn't even bother to finish the ends of the rectangles!
I hope you can use this tutorial in your curtain projects!
Tuesday, March 27, 2012
As Promised: It's Valences! A Tutorial
Here they are!
And here's how I made valences for two of the kitchen windows!
First, I took some thin paper (the exam table paper--it's great for patterns and stuff like this! A whole roll is pretty inexpensive and lasts forever!) and taped it up to decide EXACTLY the size I wanted the valences.
Then I measured the mock-up, adding seam and hem allowances (including the heading X 2---You will folding over the heading in order to have doubled-fabric in which to put the eyelets). Then decide how much fabric to buy.
As you can see, I used two fabrics--the main fabric
and the contrast fabric in red check.
You will also need (besides your decor fabric)
1. Lining material
2. Large Eyelets
3. Setting Tool for the large eyelets (for smaller eyelets, you can find pliers--but I've never seen pliers for these larger eyelets)
4. Hammer, Board, Cardboard, and a hard floor (like concrete or tile)
After cutting out my material, I sewed the blue "chicken" sections together into one long piece, and the red check sections together again into one long piece, and finally the blue fabric to the red check. Press.

And here's how I made valences for two of the kitchen windows!
First, I took some thin paper (the exam table paper--it's great for patterns and stuff like this! A whole roll is pretty inexpensive and lasts forever!) and taped it up to decide EXACTLY the size I wanted the valences.
Then I measured the mock-up, adding seam and hem allowances (including the heading X 2---You will folding over the heading in order to have doubled-fabric in which to put the eyelets). Then decide how much fabric to buy.
As you can see, I used two fabrics--the main fabric
| (How do you like my retro hens and chicks?) |
and the contrast fabric in red check.
You will also need (besides your decor fabric)
1. Lining material
2. Large Eyelets
3. Setting Tool for the large eyelets (for smaller eyelets, you can find pliers--but I've never seen pliers for these larger eyelets)
After cutting out my material, I sewed the blue "chicken" sections together into one long piece, and the red check sections together again into one long piece, and finally the blue fabric to the red check. Press.
Lining:
Cut the lining as exactly as wide as the body of your valence, and as long (top to bottom) as your valence minus twice the depth of the heading. You can buy special "No-Fade" lining or use an old sheet.
Then, wrong side of decor fabric to wrong side of lining, sew around the sides and bottom:
![]() |
| Corners of the valence |
Neaten your corners. Pin carefully all the way around the valence; Press.
Turn down your seam allowance at the very top of the valence--along the header portion. Press:
Fold again along the header fold line, measuring carefully. Pin. Press again.
Miter the corners:
Press again!
Now, figure out how far apart you want your eyelets to be. I left a bit of valence hanging on each end
to make a "tail" kind of effect. Measure very carefully--double check!--then mark and cut small holes
where you want the eyelets to go.
Be sure and make the hole not TOO big--or too small. But it's better to start out on the small side!
Sorry for the fuzzy picture!
Now get your eyelets, hammer, setting tool, & cardboard. You will need to work on a hard floor, such as your concrete porch.
Follow the directions for setting the eyelets.
Really whap that eyelet hard a couple or three times!
And here's the eyelet!
The hard part is done!
NEXT: How to make the decorative rings.
It is so easy! You won't believe it!
Wednesday, March 21, 2012
A Few Million Papers Later, and Spring Break....
Well, it FELT like a million or so papers....
In reality, I only had 6 papers in a couple of weeks. BUT, two of them were big research papers, which had to be in Turabian form (which is just another form of writing and footnoting papers).
I even went to a class at the library to learn how to write in Turabian form, and to get a Word template to use. And I STILL had trouble!
Dearest husband says Kate Turabian (who invented this form) had waaaaayyyyy too much time on her hands. HA!
Last week I went to some of the World Evangelism Conference week at Dallas Theological Seminary. It was great! If you'd like to listen to Dr. Alvin Low, the main speaker, go to the Dallas Theological Seminary website, look down in the right hand corner, and click on chapel. There you can listen to these great talks!
I have been doing some sewing and some home decor stuff.
The kitchen is now blue!
With some help, of course!
Our bedroom is pink...
And I've put a zipper into 2 skirts and 1 dress multiple, multiple, multiple times.
Ugh.
I guess I got lots of practice on zippers LOL.
Oh, and I've also been sewing up new valences for the kitchen! Pictures and how-to's to follow soon!

![]() |
| Source |
In reality, I only had 6 papers in a couple of weeks. BUT, two of them were big research papers, which had to be in Turabian form (which is just another form of writing and footnoting papers).
I even went to a class at the library to learn how to write in Turabian form, and to get a Word template to use. And I STILL had trouble!
Dearest husband says Kate Turabian (who invented this form) had waaaaayyyyy too much time on her hands. HA!
![]() |
| Source |
I have been doing some sewing and some home decor stuff.
The kitchen is now blue!
With some help, of course!
Our bedroom is pink...
And I've put a zipper into 2 skirts and 1 dress multiple, multiple, multiple times.
Ugh.
I guess I got lots of practice on zippers LOL.
Oh, and I've also been sewing up new valences for the kitchen! Pictures and how-to's to follow soon!

Subscribe to:
Posts (Atom)
New (To Me) Tuesday
A beautiful blog: Oh, the Lovely Things . Beautiful photography, beautiful art, beautiful simplicity, beautiful projects.... Like this o...
-
Materials Needed: Pencil, Ruler, Paper (I use a roll of paper, taping it together where necessary), and your measurements you took according...
-
Believe it or not! I'm still sewing--although plans have changed a bit! I've just had such a run of Mega Sewing Difficulties: z...
-
Please remember these drawings aren't to scale! First, make the neck facing. Cut out fusible interfacing using your neck facing piece, a...