
Next in the process of sprucing up our bath....painting!
First, remove everything--curtains, switchplates, hardware, all of it!


First, remove everything--curtains, switchplates, hardware, all of it!
Next, fill in all the holes. This is just a lightweight spackling compound,
something my dearest picked up at the hardware store.
This isn't a commercial!
This isn't a commercial!

Dust well (I use the vacuum).

Dust again, using a damp cloth.
Let the walls dry.

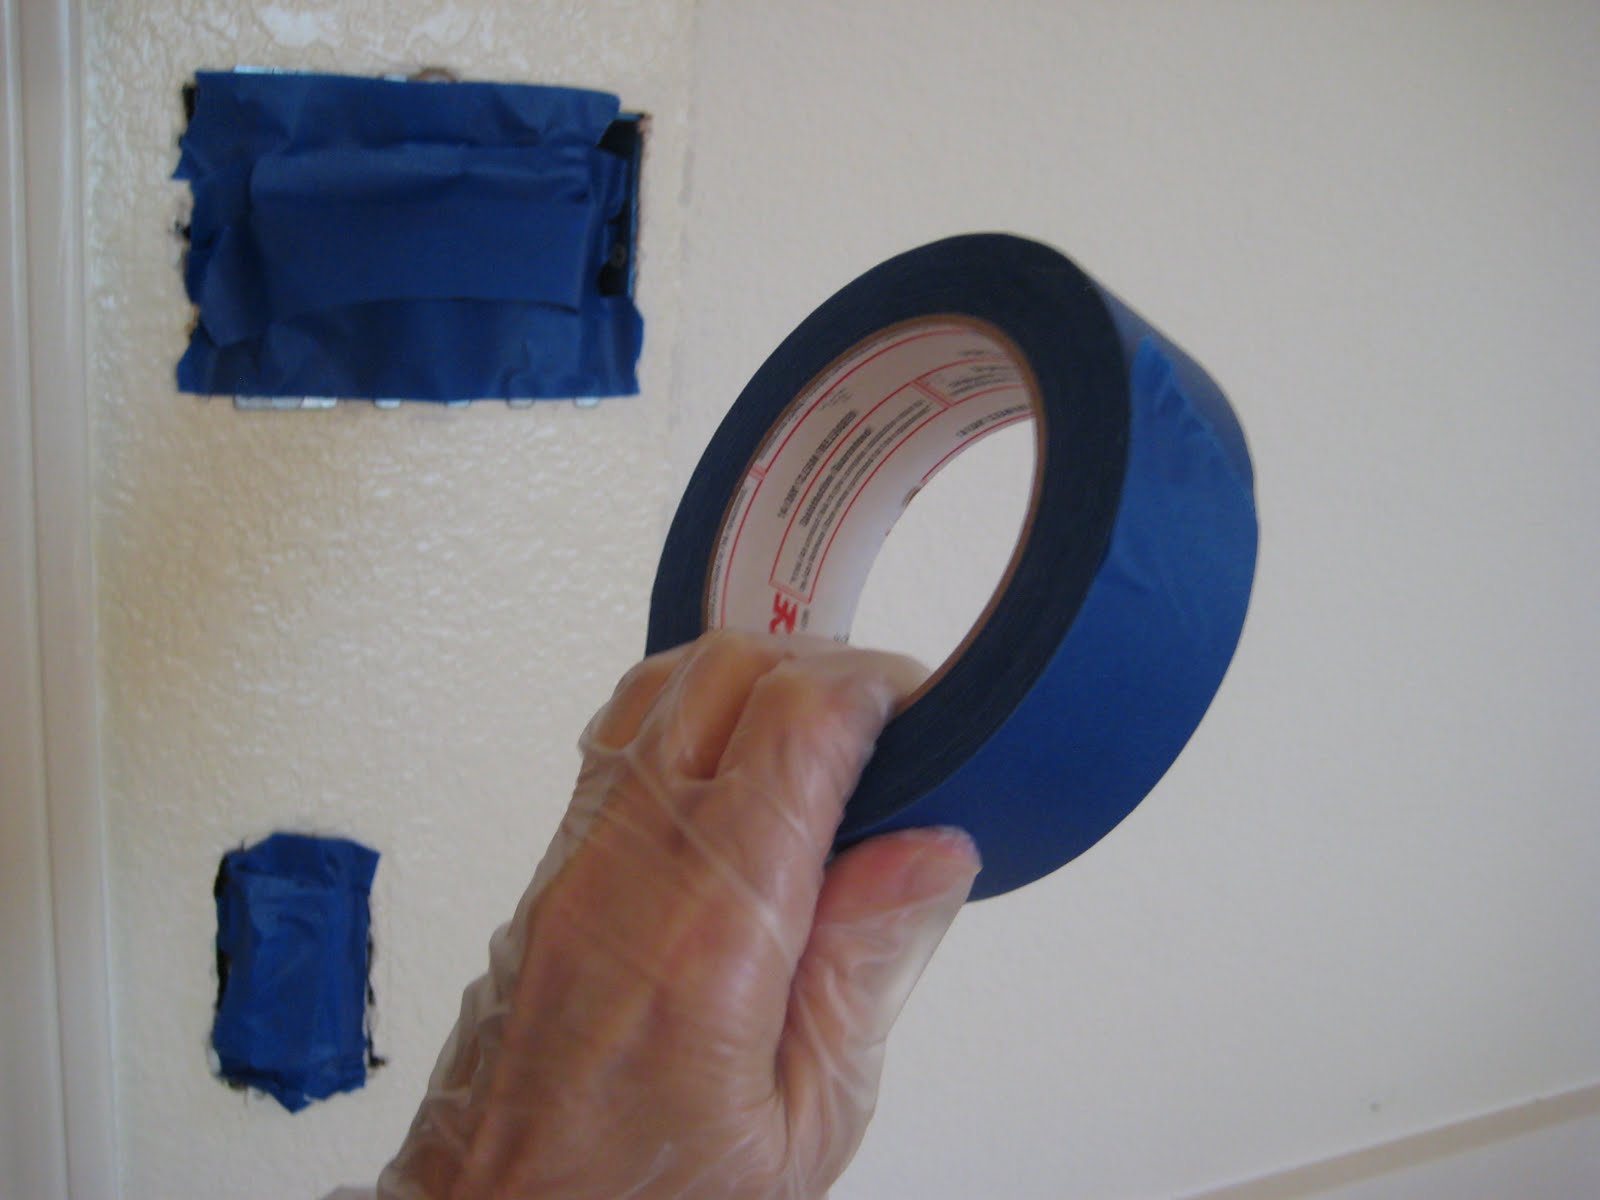
Cover the electical innards and switches.
This is the blue painter tape that doesn't get overly sticky.
Then....Paint!

Here I am in my lovely disposable "shower cap"--it's really a
throw-away cap to keep make-up off your clothes, hair, etc.
But it also keeps paint out of my hair!
I'm using a 2 inch angle brush. No one else is allowed to use it--because I use it to "cut in" the edges. I don't use tape to paint an edge; I just "draw" with my angle brush. It's easy! Much easier than using tape to mark off edges.

How to paint "edges", such as where the ceiling meets the wall? First, use a good quality brush. Don't load it with too much paint. Get up on a ladder so you can comfortably hold the brush AND see what your're doing. Holding the brush at about 45 degrees, press it ont the edge so the bristles bend slightly. Then just paint slowly along, just like you were drawing a line with a pencil. I promise, you really can do this!


The Supervisor and Helper.....
Stay tuned!


No comments:
Post a Comment