
Here they are!

And here's how I made valences for two of the kitchen windows!
First, I took some thin paper (the exam table paper--it's great for patterns and stuff like this! A whole roll is pretty inexpensive and lasts forever!) and taped it up to decide EXACTLY the size I wanted the valences.

Then I measured the mock-up, adding seam and hem allowances (including the heading X 2---You will folding over the heading in order to have doubled-fabric in which to put the eyelets). Then decide how much fabric to buy.

As you can see, I used two fabrics--the main fabric
and the contrast fabric in red check.
You will also need (besides your decor fabric)
1. Lining material
2. Large Eyelets
3. Setting Tool for the large eyelets (for smaller eyelets, you can find pliers--but I've never seen pliers for these larger eyelets)

 4. Hammer, Board, Cardboard, and a hard floor (like concrete or tile)
After cutting out my material, I sewed the blue "chicken" sections together into one long piece, and the red check sections together again into one long piece, and finally the blue fabric to the red check. Press.


And here's how I made valences for two of the kitchen windows!
First, I took some thin paper (the exam table paper--it's great for patterns and stuff like this! A whole roll is pretty inexpensive and lasts forever!) and taped it up to decide EXACTLY the size I wanted the valences.

Then I measured the mock-up, adding seam and hem allowances (including the heading X 2---You will folding over the heading in order to have doubled-fabric in which to put the eyelets). Then decide how much fabric to buy.

As you can see, I used two fabrics--the main fabric
 |
| (How do you like my retro hens and chicks?) |
and the contrast fabric in red check.
You will also need (besides your decor fabric)
1. Lining material
2. Large Eyelets
3. Setting Tool for the large eyelets (for smaller eyelets, you can find pliers--but I've never seen pliers for these larger eyelets)

After cutting out my material, I sewed the blue "chicken" sections together into one long piece, and the red check sections together again into one long piece, and finally the blue fabric to the red check. Press.

Lining:
Cut the lining as exactly as wide as the body of your valence, and as long (top to bottom) as your valence minus twice the depth of the heading. You can buy special "No-Fade" lining or use an old sheet.


Then, wrong side of decor fabric to wrong side of lining, sew around the sides and bottom:
 |
| Corners of the valence |
Neaten your corners. Pin carefully all the way around the valence; Press.

Turn down your seam allowance at the very top of the valence--along the header portion. Press:

Fold again along the header fold line, measuring carefully. Pin. Press again.
Miter the corners:

Press again!
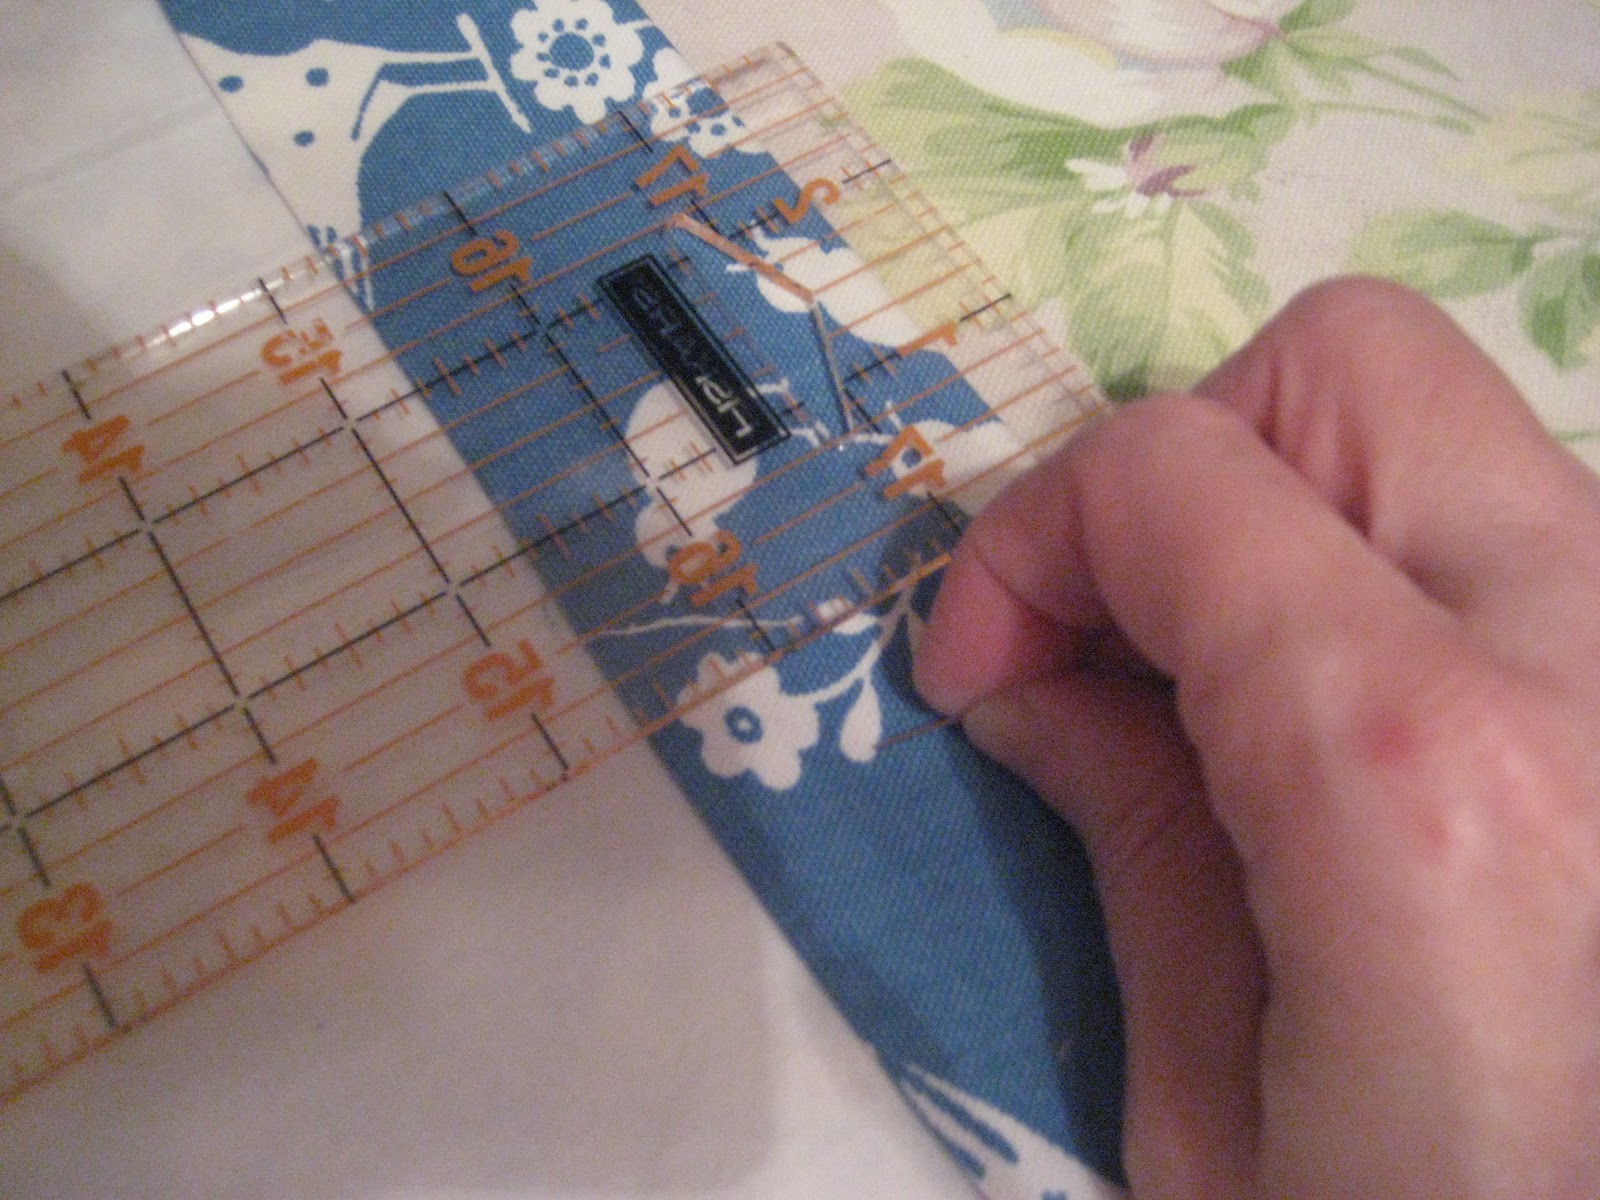
Now, figure out how far apart you want your eyelets to be. I left a bit of valence hanging on each end
to make a "tail" kind of effect. Measure very carefully--double check!--then mark and cut small holes
where you want the eyelets to go.
Be sure and make the hole not TOO big--or too small. But it's better to start out on the small side!
Sorry for the fuzzy picture!

Now get your eyelets, hammer, setting tool, & cardboard. You will need to work on a hard floor, such as your concrete porch.

Follow the directions for setting the eyelets.
Really whap that eyelet hard a couple or three times!

And here's the eyelet!

The hard part is done!
NEXT: How to make the decorative rings.
It is so easy! You won't believe it!


3 comments:
Great tutorial! I just love your valance and the materials you used. It's just so cute!
Thank you, Carol Ann! I hope the tutorial made sense. Thanks for visiting!
Thank you, Carol Ann! I hope the tutorial made sense. Thanks for visiting!
Post a Comment